In today’s fast-paced world, home appliances have become indispensable tools that streamline our daily tasks. From washing machines to refrigerators, these devices make our lives more convenient, but what happens when they break down? Instead of immediately reaching for the phone to call a technician, why not consider taking matters into your own hands? Learning how to perform basic home appliance repairs not only saves you money but also empowers you to become more self-reliant. In this blog post, we’ll guide you through a step-by-step approach to تعمیر پکیج بوتان در تهران.
Step 1: Diagnose the Problem
Before you can fix a broken appliance, you need to identify the issue. Start by observing the appliance’s behavior and note any unusual sounds, smells, or performance issues. Consult the user manual for troubleshooting tips and common problems. Additionally, online forums and video tutorials can provide valuable insights into diagnosing specific appliance issues.
Step 2: Gather the Necessary Tools
Once you’ve identified the problem, gather the tools you’ll need for the repair. Basic tools such as screwdrivers, pliers, wrenches, and a multimeter can go a long way in fixing many common appliance issues. Make sure to turn off the appliance and disconnect it from the power source before attempting any repairs to ensure your safety.
Step 3: Research and Educate Yourself
Knowledge is key to successful home appliance repair. Utilize online resources, including manufacturer websites, forums, and instructional videos, to educate yourself about the specific appliance model you’re dealing with. Understanding the inner workings of your appliance will give you confidence and insight into the repair process.
Step 4: Order Replacement Parts
In some cases, a malfunctioning appliance may require replacement parts. Once you’ve identified the faulty component, order the necessary parts from reputable suppliers or the appliance manufacturer. Make sure to provide the correct model number to ensure compatibility.
Step 5: Start with Simple Repairs
Begin your repair journey with simple fixes. Tighten loose screws, clean filters, and check for loose wires. Many appliance problems can be solved with these basic troubleshooting steps. Always follow the manufacturer’s guidelines and safety precautions.
Step 6: Tackle Specific Issues
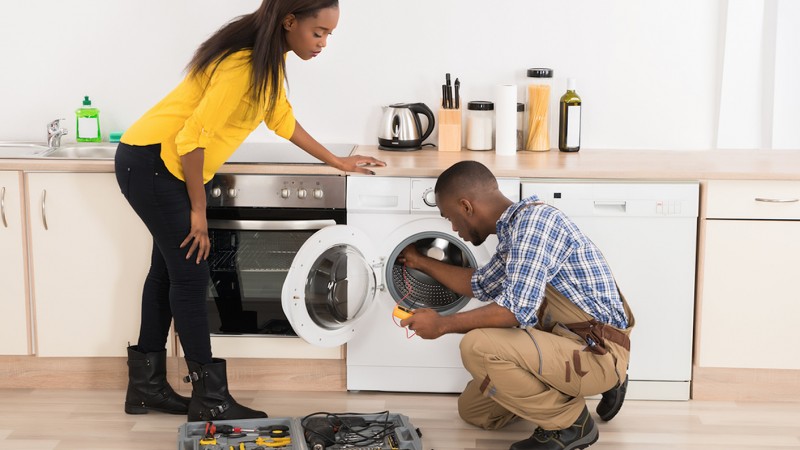
If the problem persists, move on to more specific repairs. Use the knowledge you gained during your research to focus on the identified issue. For instance, if your washing machine is leaking, inspect the hoses, pump, and door seals for damage or blockages.
Step 7: Seek Help When Needed
While DIY repairs are empowering, it’s essential to recognize when to seek professional help. Some appliance issues may require specialized skills or tools that you don’t possess. If you’re unsure or uncomfortable with a repair, don’t hesitate to contact a professional technician.
Step 8: Regular Maintenance
Prevention is often the best form of repair. Implement a routine maintenance schedule for your appliances to prolong their lifespan and prevent potential issues. Regularly clean filters, check for wear and tear, and address minor problems promptly to avoid larger, more expensive repairs down the line.
In conclusion, embracing a DIY approach to home appliance repair can be a rewarding and cost-effective endeavor. By following these steps and staying informed, you’ll be better equipped to handle common appliance issues and foster a sense of self-reliance. Remember, safety should always be a priority, and if in doubt, seek professional assistance.