Is there anything more frustrating than a malfunctioning air conditioner on a scorching summer day? Whether it’s a lack of cool air, strange noises, or a complete breakdown, dealing with AC issues can be a headache تعمیرات اسپیلت. However, before you call in the professionals and spend a hefty sum, there are some basic troubleshooting steps you can take yourself. In this guide, we’ll walk you through a step-by-step approach to air conditioner repair for beginners.
Step 1: Understand Your AC System
Before you jump into repairs, it’s crucial to understand the basic components of your air conditioning system. Typically, an AC system consists of an outdoor unit (condenser), an indoor unit (evaporator), refrigerant lines, and ductwork. Understanding how these parts work together will help you diagnose and fix problems more effectively.
Step 2: Check the Power Supply
The first thing to do when your AC isn’t working is to check the power supply. Make sure the unit is plugged in and that the circuit breaker hasn’t tripped. If the breaker has tripped, reset it and see if the AC starts working again. If it trips again, there may be a more serious electrical issue that requires professional attention.
Step 3: Inspect the Air Filter
A dirty or clogged air filter can restrict airflow and reduce the efficiency of your air conditioner. Locate the air filter, which is usually located behind the return air grille or inside the air handler unit. If the filter looks dirty, replace it with a new one. This simple step can often improve the performance of your AC significantly.
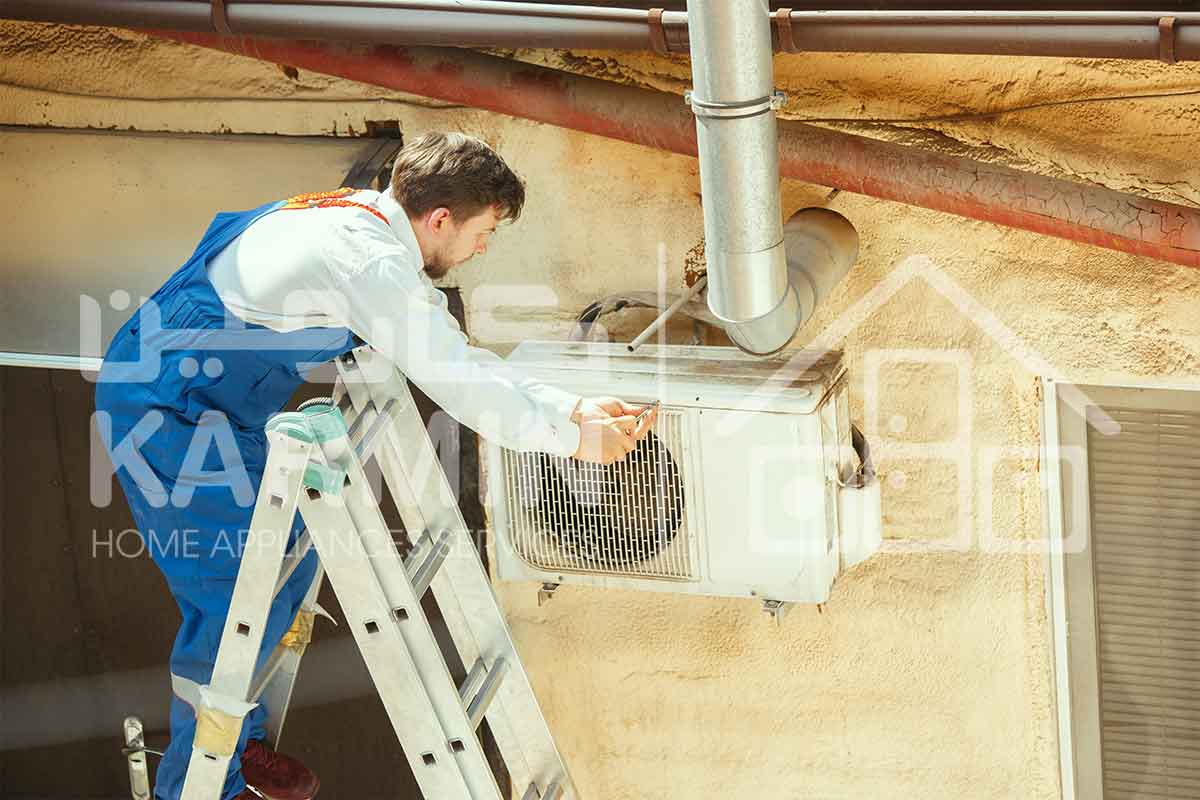
Step 4: Clean the Condenser and Evaporator Coils
Over time, dirt and debris can accumulate on the condenser and evaporator coils, reducing their ability to absorb and release heat. To clean the coils, turn off the power to the AC unit and gently brush away any dirt or debris using a soft brush or vacuum cleaner. Be careful not to bend the delicate fins on the coils.
Step 5: Check the Condensate Drain Line
The condensate drain line removes excess moisture from the air conditioning system. If the line becomes clogged, water can back up and cause damage to the AC unit or your home. Locate the condensate drain line and inspect it for clogs or blockages. If you find any, clear the obstruction using a wet/dry vacuum or a plumbing snake.
Step 6: Test the Thermostat
Sometimes, the problem with your AC may be as simple as a faulty thermostat. Make sure the thermostat is set to “cool” and that the temperature setting is lower than the current room temperature. If the thermostat runs on batteries, replace them to see if that resolves the issue. If the thermostat is programmable, check the programming to ensure it’s set correctly.
Step 7: Check for Refrigerant Leaks
Low refrigerant levels can indicate a leak in the system, which requires professional repair. Signs of a refrigerant leak include reduced cooling performance, hissing noises, or ice buildup on the refrigerant lines. If you suspect a refrigerant leak, contact a qualified HVAC technician to inspect and repair the problem.
Step 8: Call a Professional
If you’ve gone through these troubleshooting steps and your air conditioner still isn’t working properly, it may be time to call in the professionals. HVAC systems are complex, and attempting advanced repairs without the necessary knowledge and equipment can be dangerous and may cause further damage. A qualified technician will be able to diagnose the problem accurately and recommend the appropriate repairs.